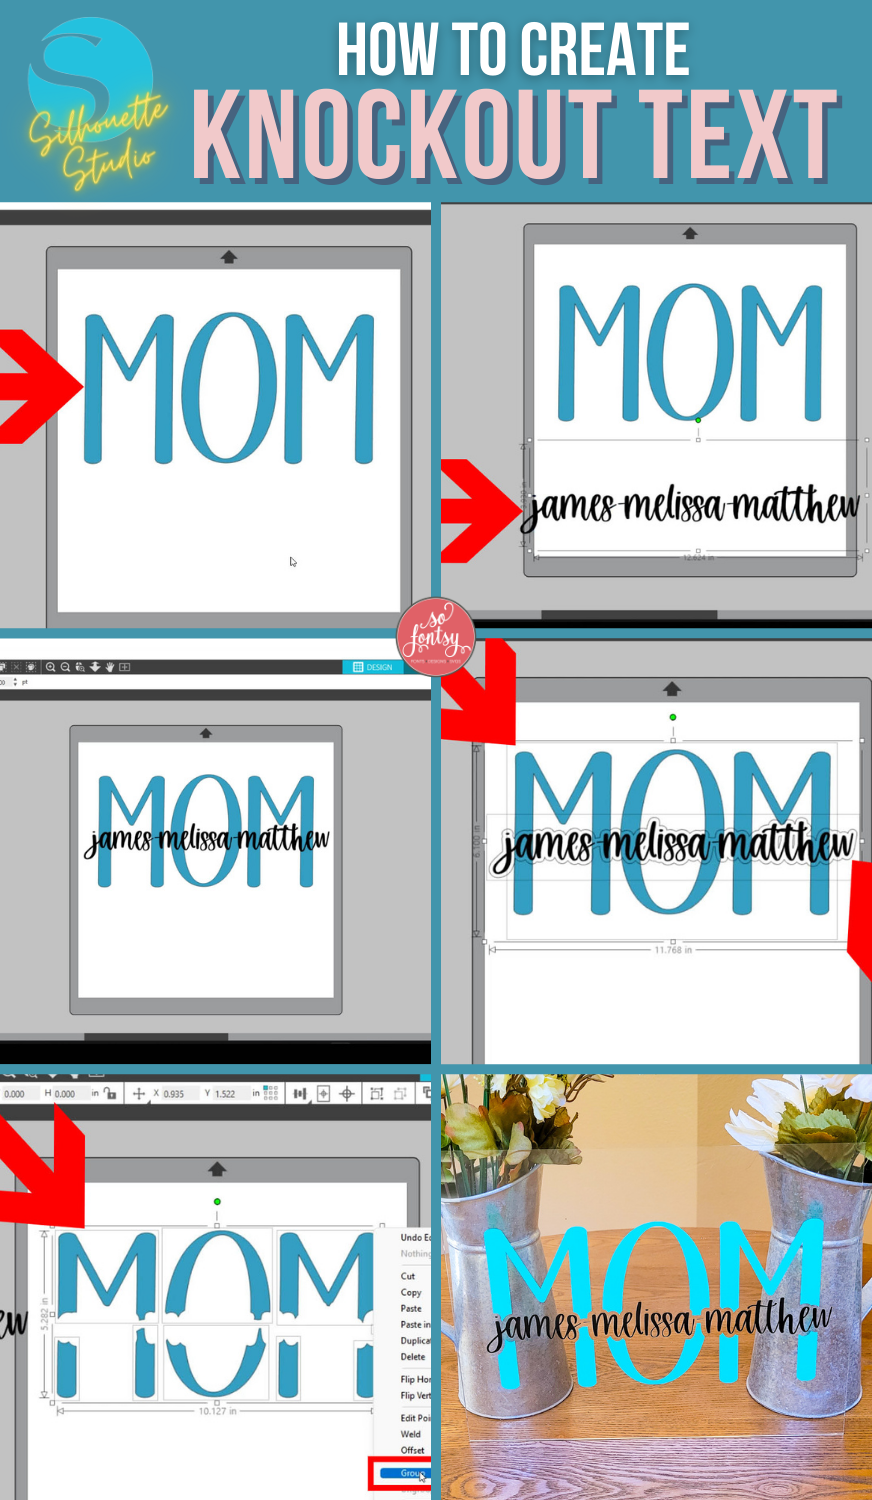
How to Create Knockout Text in Silhouette Studio

This tutorial will show you how to create knockout text designs using Silhouette Studio.
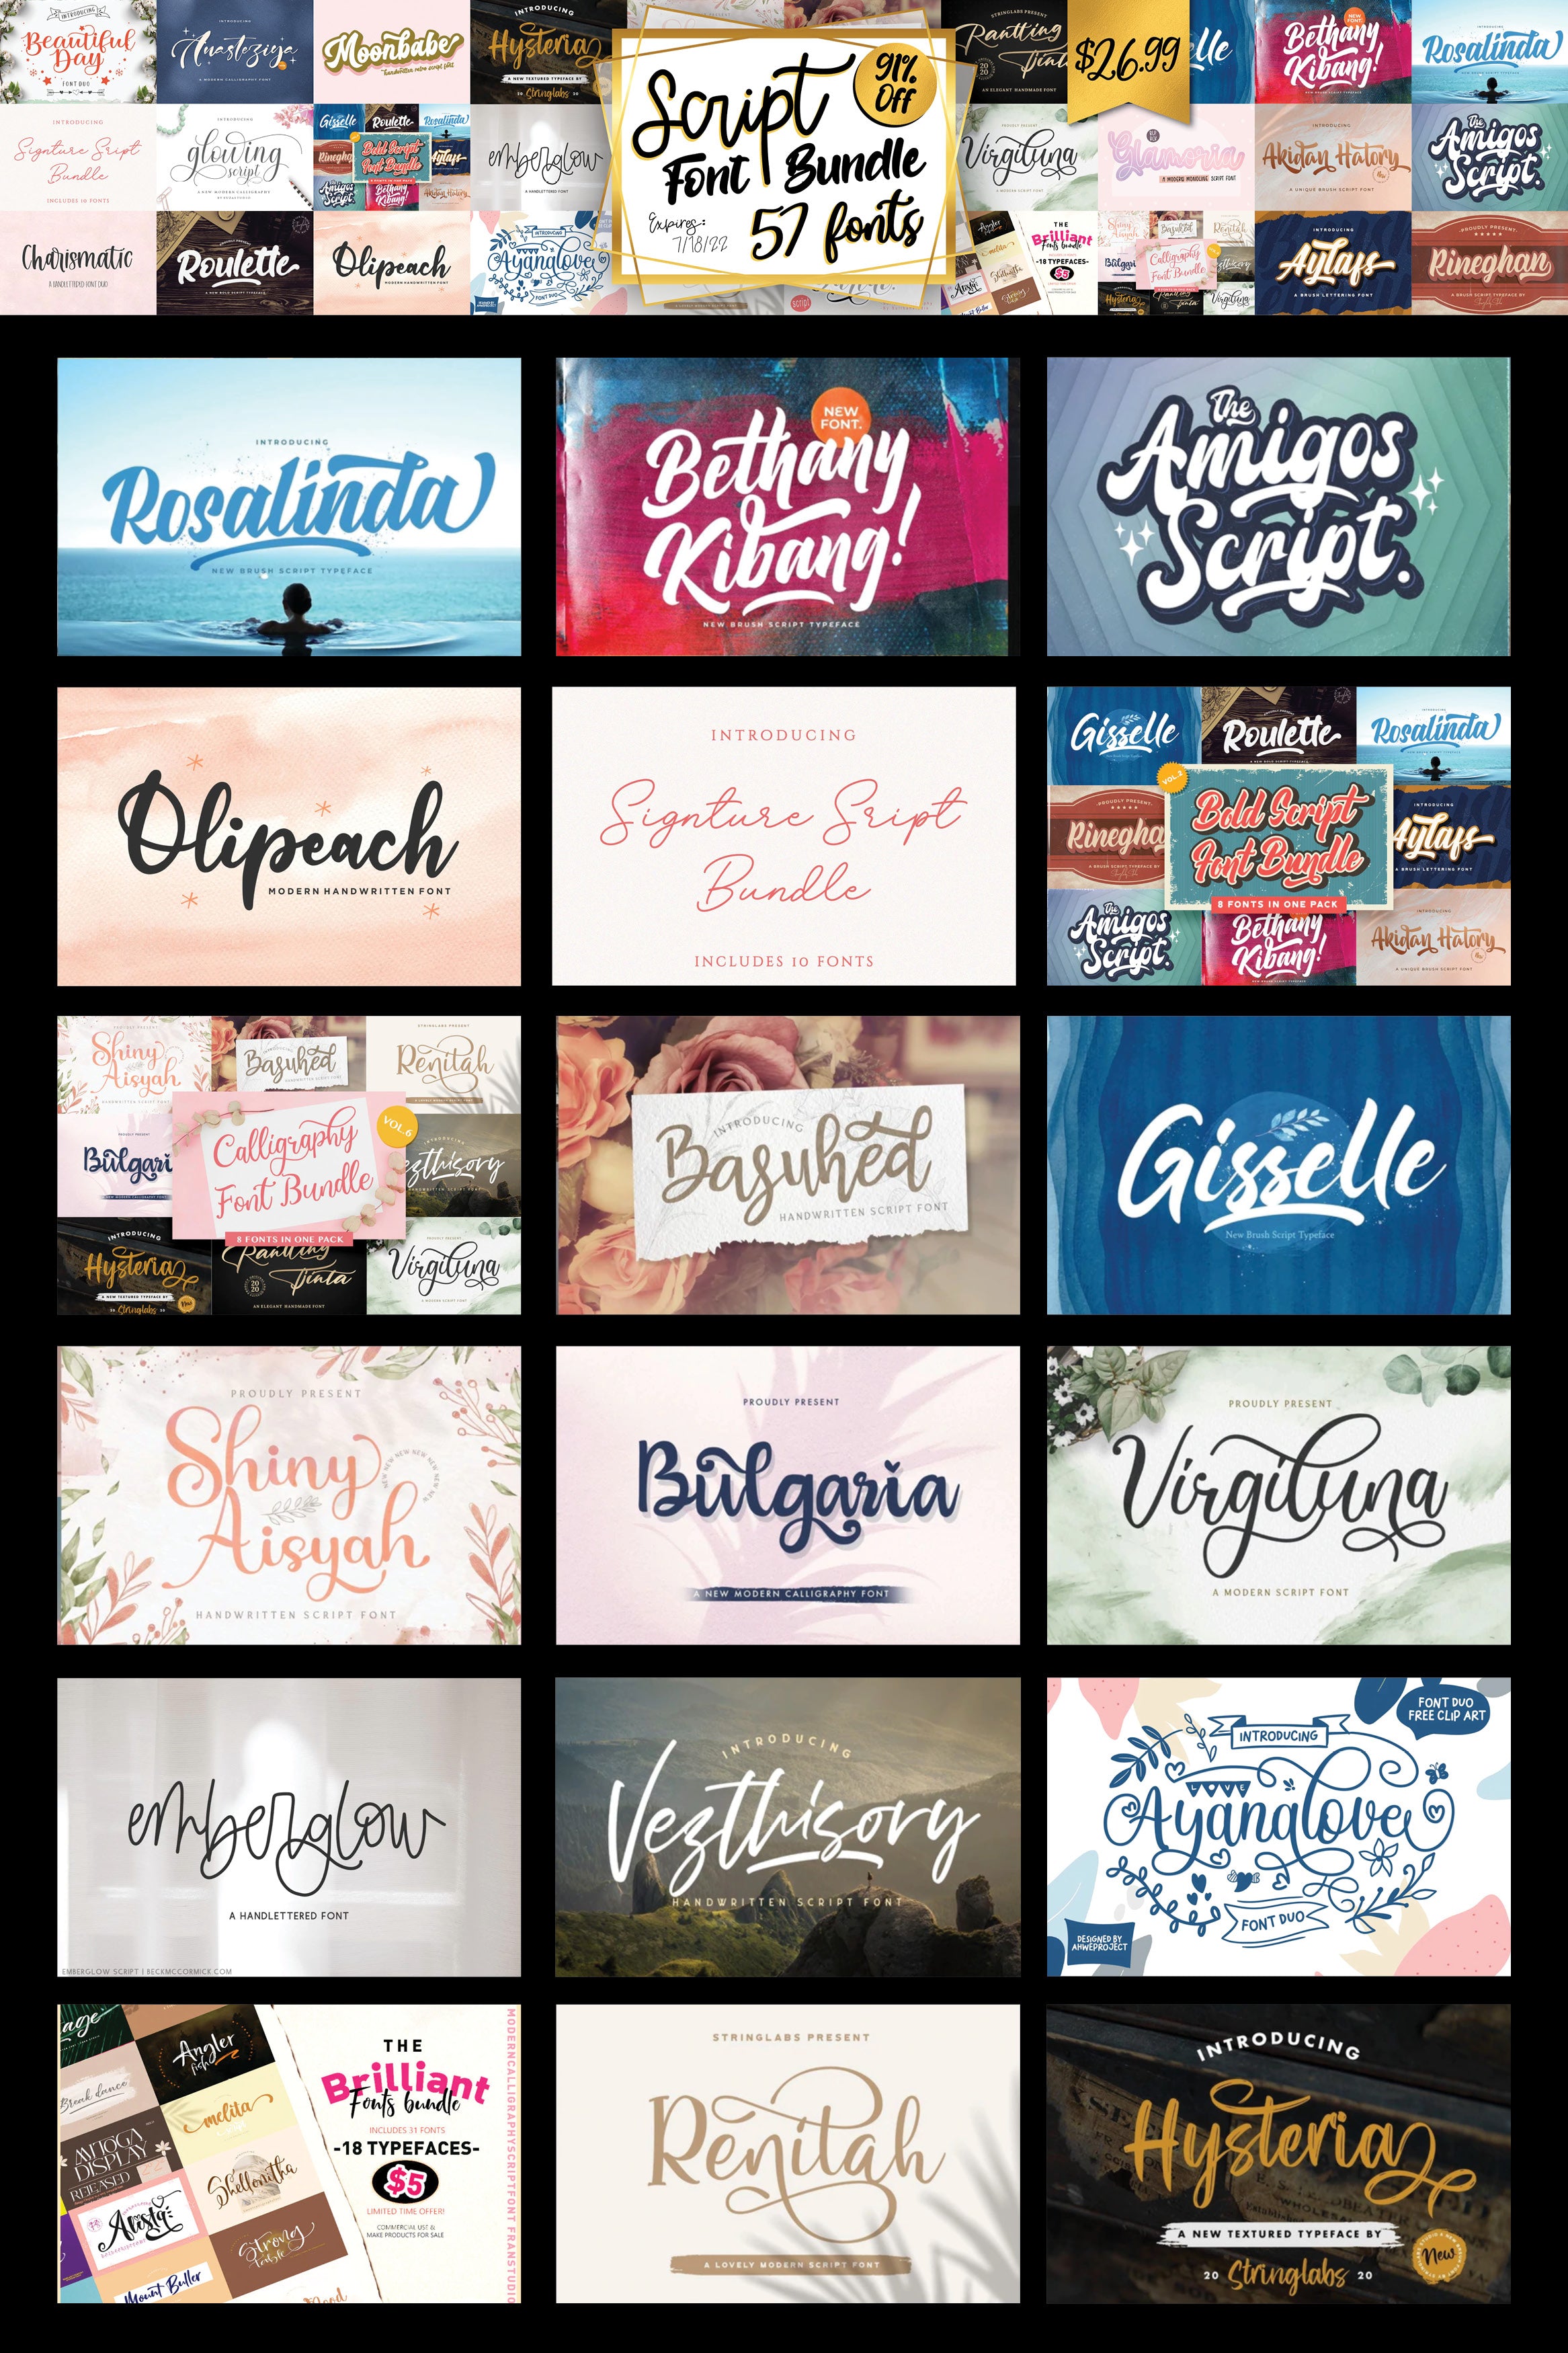
You can find the fonts we used for our personalized Mom project in the Script Font Bundle.

Open Silhouette Studio and type the background word MOM and size it appropriately for your project. The font we used is Beautiful Day Sans.

Type the frontmost text - these are the names. We used the Charismatic Script Font.

Size and position the frontmost text over the background word as desired.

Select the text with the names and open the Offset panel. Apply an offset around the text. How ever large you set the offset, is how large the "knockout" will be in the background word.

Open the Modify panel and select the background word and the offset.
Click Subtract.

After subtracting, the background word may be split into pieces, so move the front text out of the way, select all parts of the background word and group them together.

You can cut each part out of different colors of vinyl and create some really special, customized projects like this clear acrylic sign.

Grab the fonts we used to create knockout text in Silhouette Studio in the Giant Script Font Bundle.
Watch the project video below:
Love it? PIN it for later: